|
This tutorial is for those who are interested in curved structures.
It is easy to follow and is well suited for beginners who want to
try their hand at simple NURBS curve editing.
Blender is a very powerful and precise polygon modeler, complete
with NURBS support for creating smooth and curvy objects, such as
boat hulls, concept cars, and torus knots.
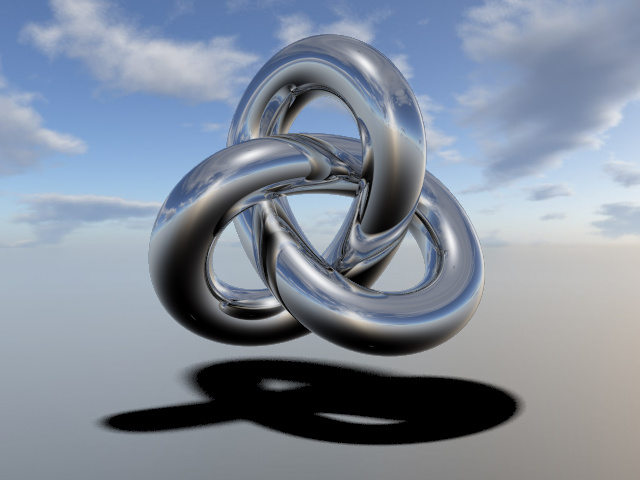
A torus knot is simply a special type of torus that has a
distinctive "twisted" or "knotted" appearance. Do you remember the
chrome logo of a company called MetaCreations? Here's my version created in Blender.
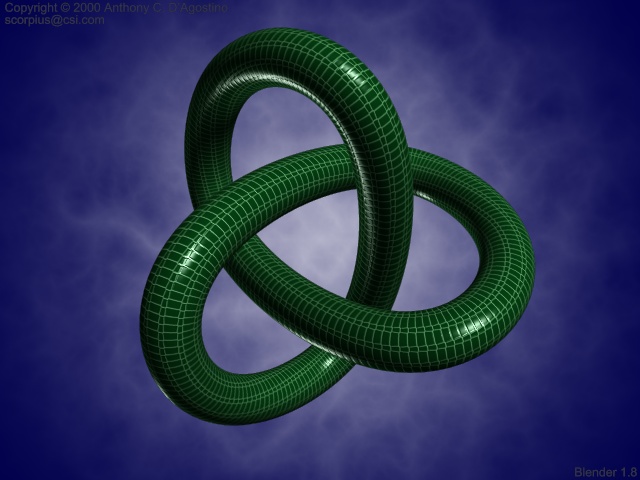
For a more concrete example see my model of a garden hose
knot. Carefully, follow the easy steps below to recreate my
model.
- Start by clearing the workspace (CTRL-X), select top-view (Pad7
Key), select rotate-around-cursor-mode (Period Key), and place the
cursor at the origin (SHIFT-C). Hint: hold the CTRL and/or SHIFT
keys while moving, rotating, and scaling to enable snapping to
grid.
- Emptys are very helpful place-holders that will make things
much easier for this tutorial. Add an Empty and move (GKey)
it 3 units to the left. Press the N-Key to verify the Empty's
coordinates at {-3,0,0}. Now duplicate it (SHIFT-D) and rotate
(RKey) it 120 degrees. Repeat once more to place the third Empty.
- You should now have three Emptys that form a perfect
equilateral triangle. Select all three, duplicate (SHIFT-D), rotate
(R-Key) 60 degrees, and scale (S-Key) by a factor of 0.550 You
should have six empties arranged like this.
- Add a NURBS Curve and remain in edit mode (yellow lines
should be connecting the vertices.) Delete the three right most
vertices, and move the remaining vertex near the left-most Empty
(don't be too precise for now). You have now placed the first
vertex of the knot, which will have 9 vertices in total.
- Now add the remaining vertices by holding down the CTRL key,
while clicking near the numbers 2 through 9 (refer to the above
figure.) After the last vertex close the curve by pressing the
CKey. Leave edit mode, press F9 and rename this curve 'Torus Knot'
(also make sure the 3D Toggle Button under 'DefaultResolU' is
pushed in.)
- Add a Hook to vertices 2, 5, and 8 as follows: select
them, press CTRL-H, and select the first pop-up menu option. A new
null object (Empty.006) will be created. This will be used later to
reselect these vertices with great ease. In the same fashion, add
another hook to vertices 3, 6, and 9 (Empty.007).
- Make the curve more accurate by snapping the vertices to the
nearest emptys. Select the left-most empty (at location -3,0,0),
and snap the cursor to it by pressing SHIFT-S, 4. Select the curve,
enter edit mode (TAB), select the vertex closest to the 3D cursor,
and snap it to the cursor (SHIFT-S, 2), then leave edit mode.
Repeat this for all other vertices to get a purely-balanced and
symmetrical curve.
- Extend the curve into the third dimension. Select the
Hook that is associated with the first three inner vertices
(Empty.006) and move it so the Z coordinate is 1.2. Do the same
with the other hook (Empty.007), but the Z value should be -1.2
instead. Select only the 6 inner-most vertices and set the weight
to 1.350 (click on 'Set Weight' in the Curve Tools panel and
the curve will be rounder).
- The infinitely thin torus-knot curve needs to be given real
volume. Add a bezier circle to the scene and rename it "X" for
cross section. Scale it down by half. Select the Knot curve; in the
Curve and Surface panel type "X" in the BevOb field.
This extrudes the circle along the path of the knot and
simultaneously generates the correct UV coordinates (press UV
Orco). You may want to experiment with the TaperOb field
to create lumps along the length of the main curve.
- One last picky detail: When you press render, Blender
internally polygonizes this surface. You'll notice that the
generated faces are long and thin instead of square. This can be
fixed by increasing the knot curve's 'DefaultResolU' until the
faces are square. Press ALT-C to convert the object to a mesh for
exporting to other apps, but the UV mapping coordinates will be
lost.
So now you a perfectly-shaped torus knot that awaits texturing or
placement in your scene. There are easier ways to make a torus
knot, but this is basically the only way to do it by hand via NURBS
surfaces. For another method, see my minimal torus knot plugin for
Wings.
I wrote this tutorial on paper in 2000, but never put it online.
The addition of Hooks to Blender makes it so much easier to
describe, and so 5 years later the tutorial is finally available.
This is my first tutorial for Blender. If you found it useful, I
would appreciate any comments or suggestions. And let me know if
there are any errors or omissions.
|